Freshwater washdown

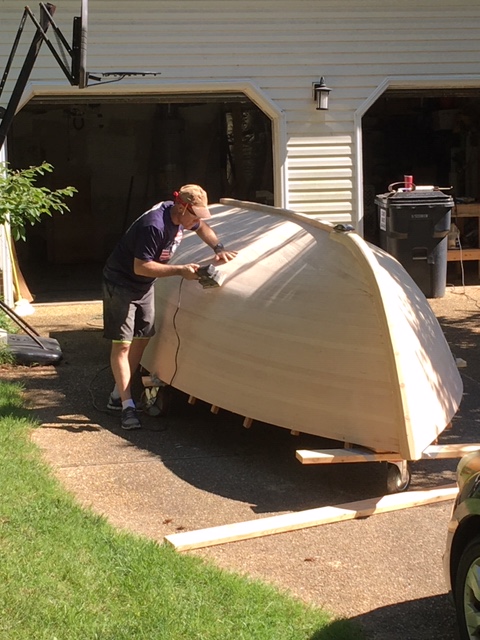
I washed down the boat to see any color imperfections and hard lines that I wasn’t seeing before.  Things like wood filler, grain tear out, bumps, knuckles, etc. There were a few spots that I picked out but overall I was pretty happy with the look.  This is about what she’d look like with no stain.  I haven’t been this excited since I put up the moulds – she looks like a real boat.

6-19-2019a

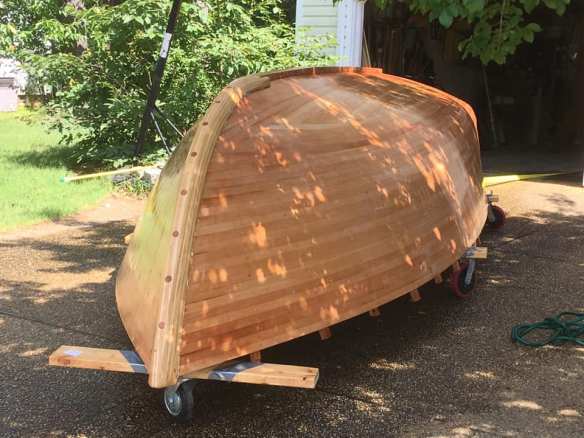
Freshwater washdown, still wet.  I like how the cherry plugs pop in the ash stem.

6-19-2019b

Freshwater washdown.  Identifying any major discolorations (wood filler, etc) and distinct lines that need to be faired out.

I especially liked how the cherry plugs in the stem pop.  That’s a nice color difference – will probably incorporate cherry in the guard and spray rails, both are ash.

Life sure has been good to me…building this boat after all those years of thinking about it has been a revelation. It’s a lot of fun! I’m happy to have been able to include family and friends, and to use my Grandfathers tools and my Dad’s advice along the way. You can’t buy stuff like that.
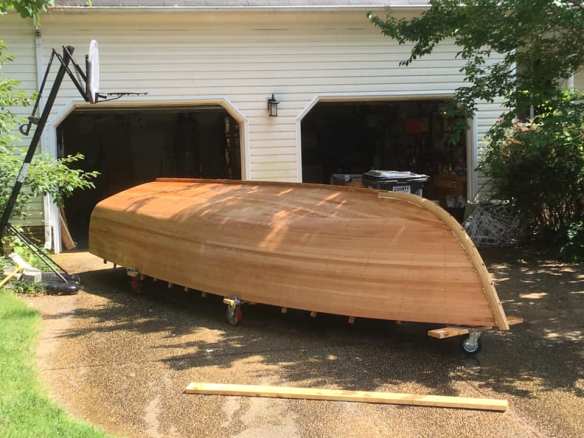
Forward Progress!


Fine sanding

I finished rough sanding the boat last week and have moved on to fine sanding.  There were a number of things I had to do between the two steps, including replacing 8-10 plugs that had wiggled out, epoxy-filling some of the larger gaps between planks, and applying wood filler to some of the divots and other minor imperfections.

IMG_2250

Fine sanding round 1 – 220 grit

I burned up my belt sander while rough sanding, so luckily a professional woodworker neighbor let me borrow his and the difference was pretty significant.  I had a Craftsman 18″ with 1100 feet per second speed, he had a Porter Cable 24″ with 1500 fps.  I got more done with his in an afternoon that I had the previous week with mine.

I swept the dust off between sounding rounds and used 220 grit on a half sheet sander.  I sanded in line with the grain and changed sheets every 3 stations to keep the scuffing and material removal consistent. I figured it’s easier to have a system like that than trying to guess.

The filler is stainable and dries and sands well.  I’ll probably need to make pencil marks to simulate grain patterns on some of the larger fills.  Hiding my mistakes.

I’ll give it one final look and then apply wood conditioner for staining.  I’d like to stain it cherry; on the fence about using gel stain or water based.  I can’t use oil based stain because the epoxy and fiberglass won’t stick.

Forward progress!