
I added a second coat of epoxy and a couple coats of varnish to the deck. This provides structural rigidity, makes it waterproof, sun-proof, and of course makes it look good. Varnish application should be via the roll and tip method – using a 1/8 nap roller, apply thin layers / small amounts of varnish in short strokes and then tip off with a fine brush. Keep spreading the varnish, otherwise it may pool up, which causes it to wrinkle and get gummy and yellow. I dealt with this in certain sections over the past month – only way to fix it is scrape it off and re-apply the right way.

Next I made the foam compartments. Plans call for 4 cubic feet of 2 lb foam, which should offset about 350lbs of weight at the transom. This will counteract the weight of the outboard, gas tank and batteries, so it’s definitely a requirement. To make the compartments, I used one of my best tools, a hot glue gun, to get the right shape and make a template. I then cut the shapes out of 3/8″ marine plywood, made the tops, and dry fit everything together to make sure it’ll work, which it did. I then hid some 2×4 guides for everything to screw into, so it’s nice and rigid. The foam is 2 part, mixed together. You have to mix it in high-ish heat, more than 80 degrees F, really fast for about 20 seconds and then immediately pour. It expands to 25x the volume. It can be dangerous – a heavy by-product is CO2, so that means a heavy fan, plenty of ventilation and probably a spotter. I’ve also read about people buying foam boards at the hardware store and just stacking them into the compartments. The engineer in me doesn’t like that so I just went with what I thought the designer wanted.


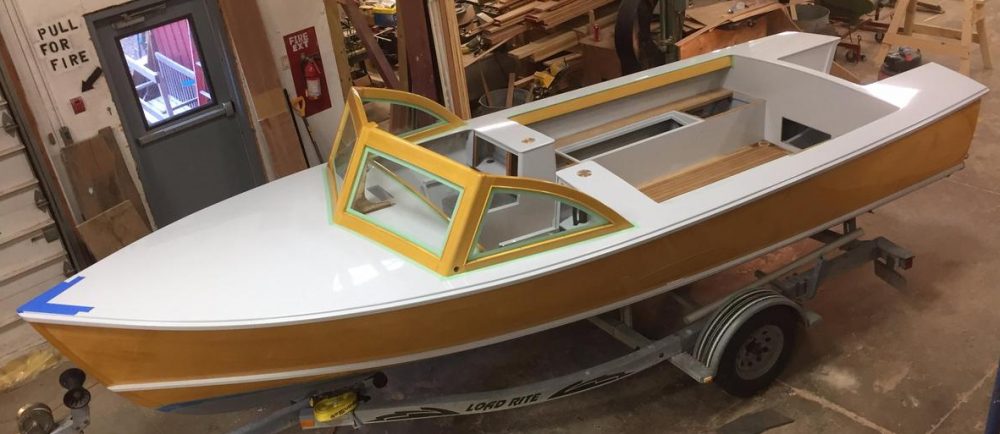
I also bought a trailer recently. It was my second attempt – the first was 2-3 feet too short and I just couldn’t live with that – the center of gravity would’ve been off, other drivers probably wouldn’t have seen my brake lights, etc, etc. So I sold it – only 8 hours on Facebook marketplace and it was gone. Pictured above is my second attempt. It has everything I wanted except a swing away tongue, which I can install. The critical factors for a trailer are weight and length – what the trailer can carry and whether or not it supports the boat properly. There are lots of ways to find this out – the best way for the weight is the trailer VIN plate and for the length of course just use a tape measure. The winch can usually move forward or backwards so that should be taken into account as well. You also need to know your trucks carrying capacity, or Gross Vehicle Weight Rating. I recently installed a towing bar with a two inch hitch, which put me at about 5000lbs. The Albury plans say the boat is 2400lbs dry weight (without fuel, water, motor, etc) so I should be good to go. Now I just have to move the boat from my home-built carriage to this trailer. That’s another episode!

I also put a final coat of varnish on my floor boards. Not too difficult but in order to prevent wrinkling and gumminess I had to really get a good rough surface. I used ceramic sandpaper pads and will never use any other kind again. They didn’t load up and they lasted twice as long.
