I now have 9 rows of planking from the sheer, and 2 from the garboard (both sides). The planks are 1 3/8″ wide and I have 20 or so rows to go. It’s a slow process but that’s good – it ensures I can give each connection the proper attention. After all, this is a boat! Which also means that I have a lot of time to think, tinker and adjust. So I think I’ve learned a good method that will fit planks up tight and keep the ol’ girl watertight.
Here’s the process:
- Measure out new planks and make sure they cover enough boat length. One of the primary things to look for is complete coverage of scarf joints for previously placed planks. If two scarf joints line up right above or below each other, it creates a weak spot.
- Loosely clamp the planks above their neighbors. You need three clamping points, forward, middle and aft. Leave enough vertical room to apply epoxy and work any gear clamps when they are put into place.
- Apply epoxy to the ribs (vertical) and plank mating surfaces (horizontal). Spread it so that there are no starved areas. I use Totalboat and get about 4-plus planks at 20′ each for every 185mL tube.
- Move the planks down at the stem and clamp flush. This stem connection needs to be flush both vertically and horizontally – very important.
- Clamp the plank down in the vertical plane, i.e., to the plank immediately beneath. You want a little bit of epoxy squeeze-out, but no beads or globs.
- Repeat this for the adjacent station and continue to move down the boat.
- Once the epoxy dries, install fasteners from the planks to the ribs. Do one station at a time, i.e., remove the clamp, put in the fastener, and then move to the next station and repeat.
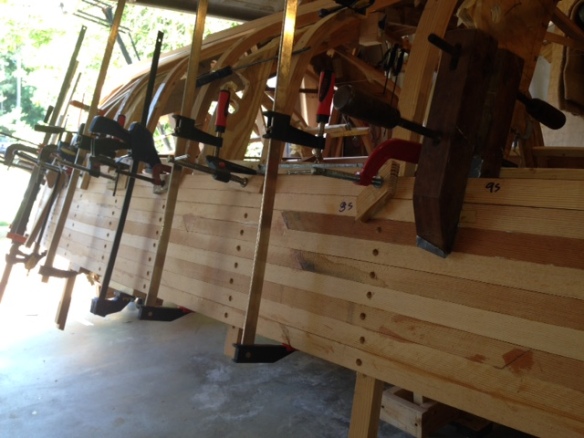
Planks staged and epoxy applied. Leave 6-8″ between horizontal surfaces so you can get the caulk gun into position. Make sure that no scarfs that line up immediately above or below each other.
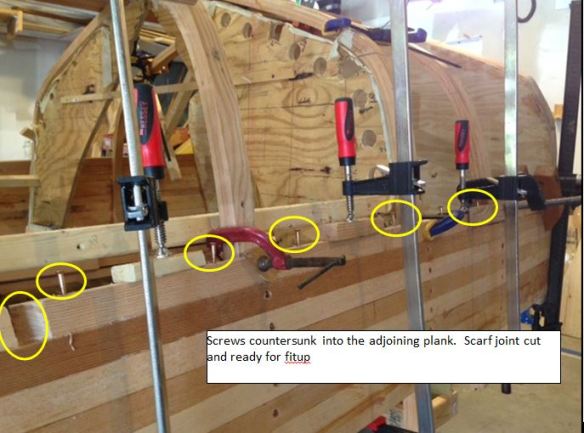
Edge screwing planks. I need flush planks but also need to use these clamps at other points on this particular plank before the epoxy dries. So, instead of buying $300 worth of additional clamps, I’m edge screwing.
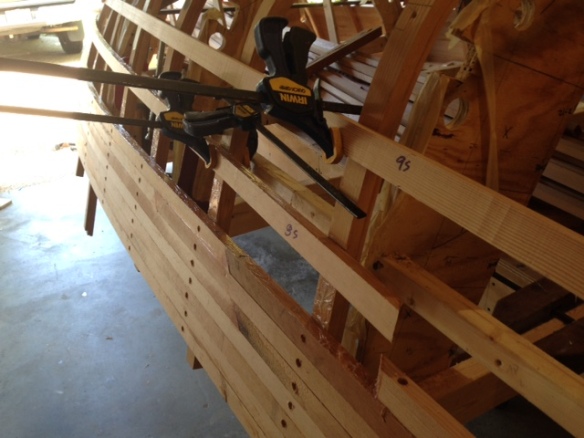
2 rows epoxied and clamped. I will remove the clamps and fasten to the ribs, one station at a time, when the epoxy dries.
I also had to repair some ribs this week. I didn’t clamp them up properly the first time, so they separated from the plank after epoxy, which just won’t do….so I removed all of the screws, used a heat gun to get the dried epoxy off of the mating surfaces, sanded each smooth, reapplied epoxy and then re-clamped for 100% coverage. It worked out. I learned something from Offcenterharbor, mainly how to use a heat gun to remove screws that had epoxy on them. Easy and effective. See the pic caption below for more detail.
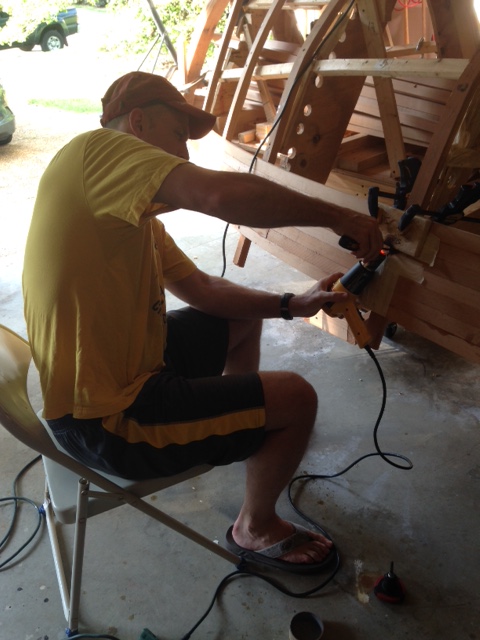
Removing epoxied screws to do some rework; engage the screwdriver, put a heat gun to the screwdriver shaft for 30s and slowly back out the screw. The heat will conduct to the screw and melt the epoxy.
I also got some help from my favorite daughter this week. She’s out of school for the summer so I put her to work and got to teach her a few things. She picked it up pretty quick and I had a lot of fun (I think she enjoyed it too!).
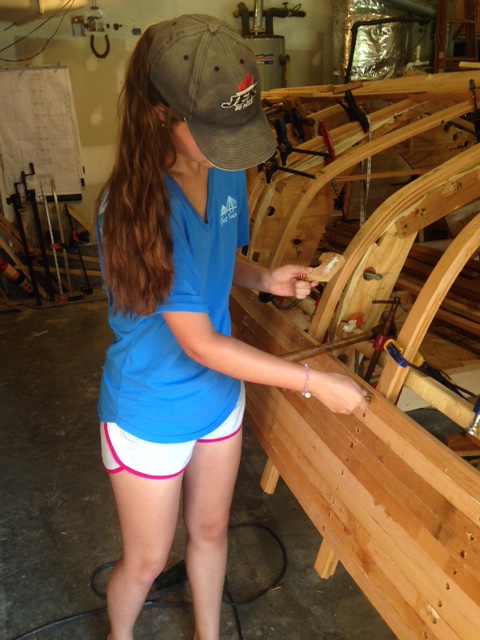
Boat shop helper-extraordinaire epoxying and installing Si-Bronze screws.
Planking continues…my main goal is to have the entire outer hull built and glassed by the time the weather turns cold. That should be early November; I think that’s possible. Forward progress!
