
I’ve made some progress on the floor timbers, which run athwartships (across the width of the boat) and span the bilge area, or the lowest points of the boat. The provide a lot of strength and reinforcement here, the area that takes the brunt of the shear forces and twisting motions of the boat. The books all say that floor timbers “combine two halves of the boat into a whole boat”, which makes sense. They are thick, resined, sturdy pieces of board that reinforce the ribs, keelson and planking, are epoxied to all three, and are attached through the keelson with a carriage bolt.
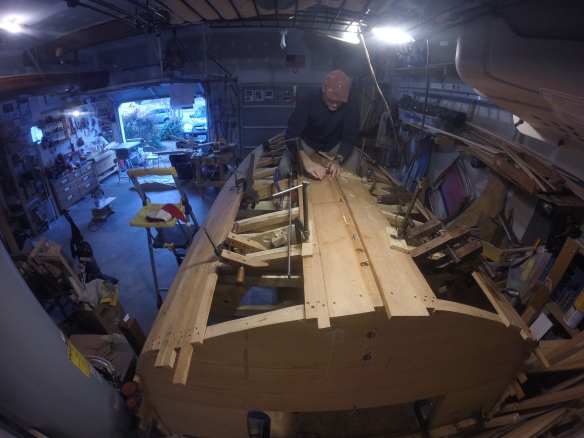
Tightening the carriage bolt through the keelson
Finding the shape of the floor timber was similar to what I showed with the sole beams. A cardboard template, craft glue gun, and thin pieces of board gave me the basic shape. From there I roughed them in with a circular saw and electric planer, and finally dialed them in with an angle grinder with sanding disc.
Finding the floor timber shape with a cardboard template, craft glue gun and thin pieces of scrap board
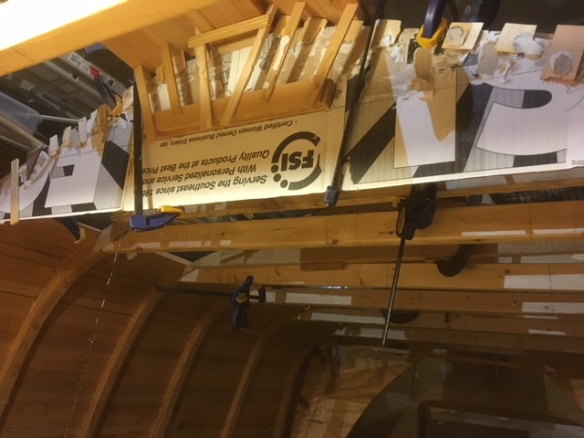
A useful tip is to use your craft glue and put clamping pads on the floor timber boards. Having them on the floor timber before you start clamping saves you the aggravation of trying to hold multiple things in place and work a clamp when you only have two hands. The craft glue doesn’t leave any marks and just pops right off with a knife.
Craft glued clamping pads.
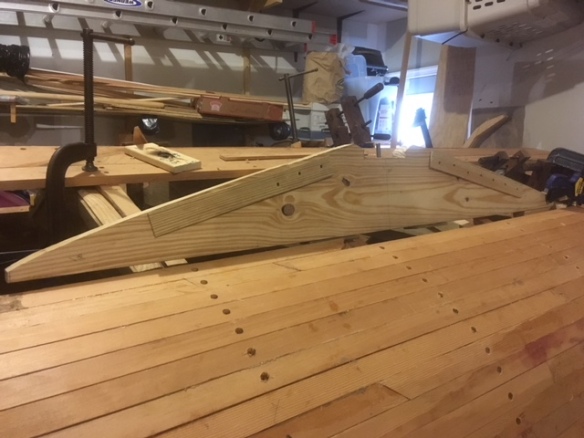
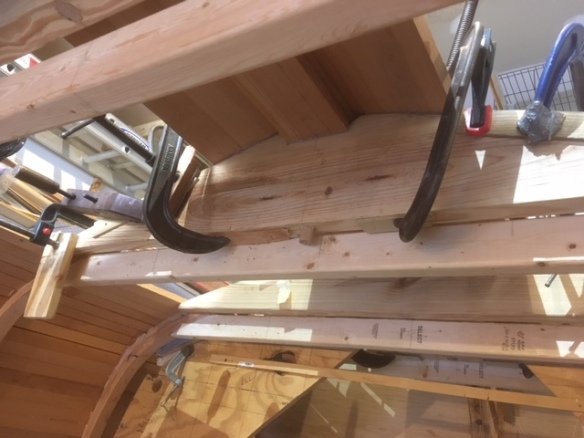
I dry fit the floor timber and mark off where the epoxy will go, then pull it out and apply the epoxy while it’s out in the open and there’s plenty of room.
Epoxy applied, ready to install
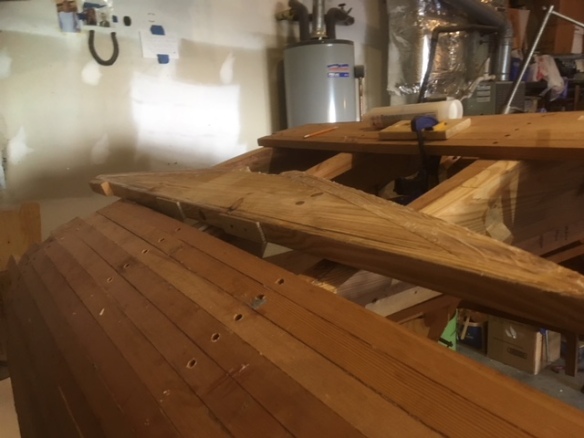
Finally I put the board in place, make sure there’s good epoxy squeeze out, make my fillets and make sure the carriage bolt is properly seated. I then put some of the leftover epoxy in the bolt hole and seal it with a section of oak dowel.
Fitted and epoxied up, with an oak dowel in the bolt hole. Note the clamping pads I’d mentioned up above. Tip – make small grooves in the dowel before putting it in place, this gives the epoxy and glue a place to go and hold better.
I tried this exercise before back in December 2015 but decided to go with this method instead. It accomplishes the same thing in much less time.
Forward Progress!
